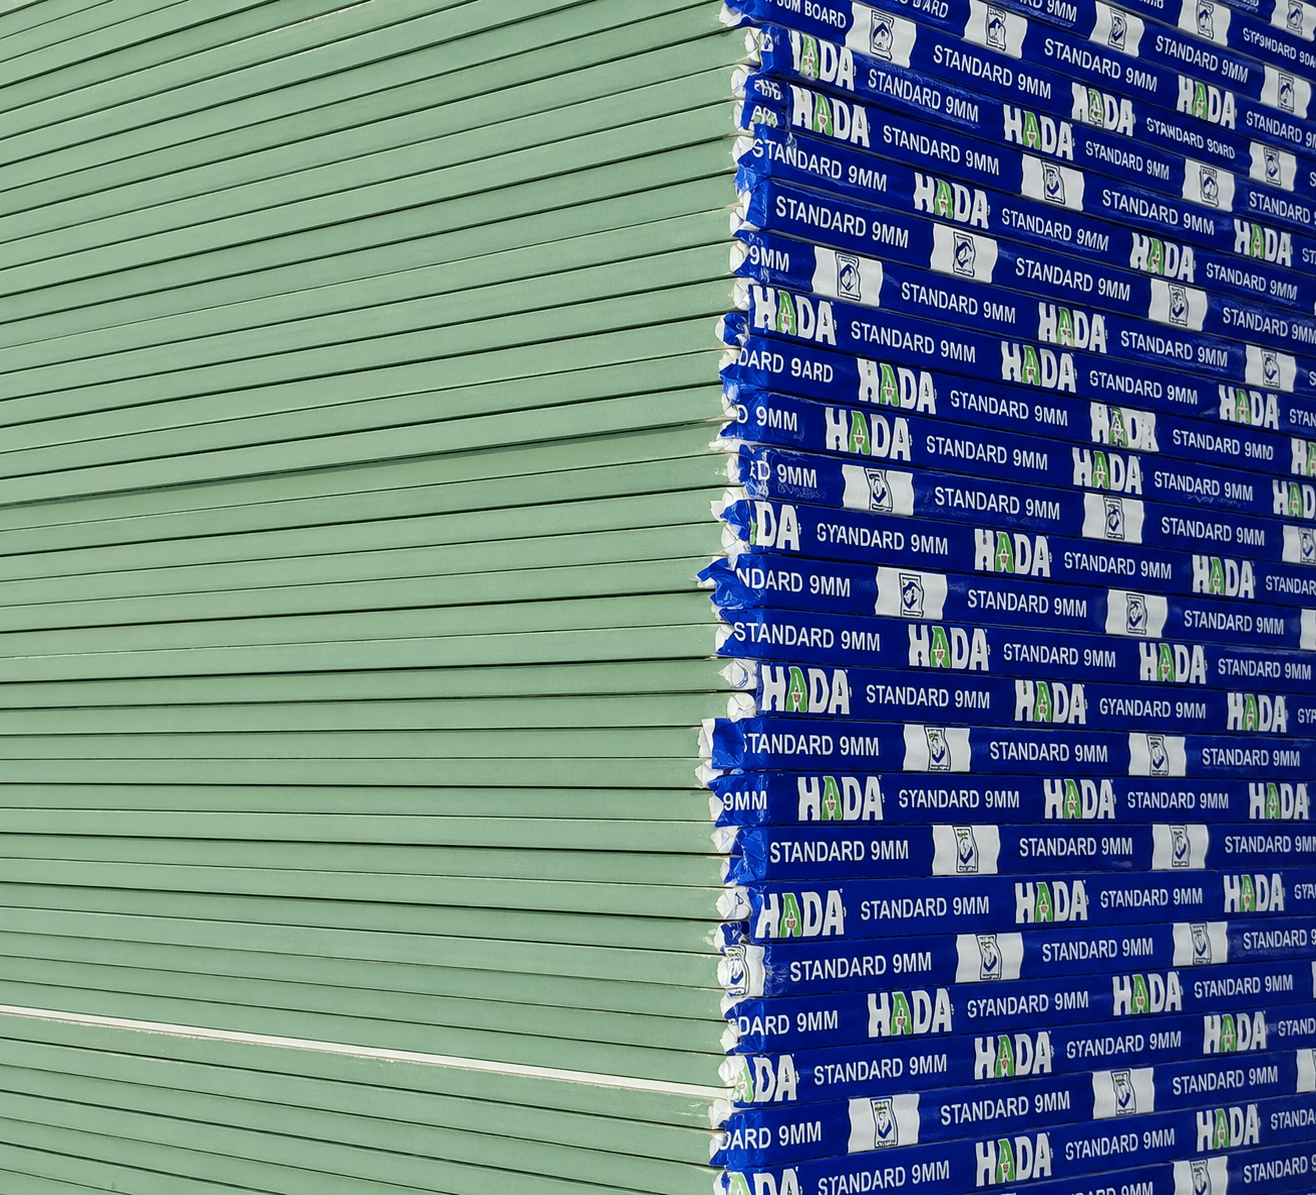
Gypco Interiors Limited

Sale!

Boards hada moisture 9mm

Original price was: KSh 1,500.00.Current price is: KSh 1,100.00.

Hada Moisture Boards (9mm) are specifically designed to provide optimal performance in high-moisture environments. Manufactured to be water-resistant, these boards are the ideal solution for areas where humidity and moisture levels are high, such as bathrooms, kitchens, laundries, and basements. Their unique composition ensures that they resist mold growth, prevent water absorption, and offer excellent durability over time.

It seems like you’re asking about how a moisture-resistant installation process works for boards, possibly in the context of flooring or construction. Based on your mention of “9mm” and “installation,” I’ll assume you’re referring to a 9mm thick moisture-resistant board, like a plywood, MDF, or cement board used in building projects.

Here’s an overview of how moisture-resistant board installation generally works:

1. Preparing the Surface

  • Cleaning and Leveling: The surface where the moisture-resistant board will be installed should be cleaned of debris, dust, or oil. It’s important that the surface is level to ensure the boards sit properly.
  • Drying: Any moisture on the surface should be removed to prevent trapped moisture that could damage the board over time.

2. Choosing the Right Board

  • Material Selection: Moisture-resistant boards come in various materials, such as:
    • MDF with moisture-resistant properties (good for wet areas like bathrooms).
    • Plywood or OSB (used for floors or walls in areas where moisture may be present).
    • Cement or fiberglass-backed boards (used for heavy-duty areas, such as wet rooms or kitchens).
  • Thickness: A 9mm thick board is relatively thin but still provides decent strength. It’s important to use the right thickness for your specific application, whether it’s for flooring, wall cladding, or sub-flooring.

3. Cutting the Board

  • Measuring and Marking: Measure the area and cut the board to the required dimensions. Make sure the edges are clean and smooth to avoid gaps during installation.
  • Using the Right Tools: Depending on the material, use appropriate cutting tools (e.g., a circular saw for plywood or a tile cutter for cement boards).

4. Installing the Boards

  • Adhesive or Screws: For installation, you’ll either use an adhesive (for wall panels) or screws/nails (for flooring or heavy-duty uses). When installing on the floor, the boards should be securely attached to prevent any movement.
  • Sealing the Joints: If you’re installing in areas exposed to moisture, ensure that all seams are properly sealed. Use a waterproof sealant or joint compound to prevent water from seeping through the gaps.

5. Moisture Protection

  • Waterproofing Membranes: For areas with high humidity or direct exposure to water, it’s advisable to apply a waterproofing membrane over the board before finishing the installation.
  • Finishing: Once the board is securely attached and the joints are sealed, finish the surface (paint, tiles, etc.) to add an extra layer of protection and aesthetics.

6. Maintenance

  • Inspection: Regularly check the boards for signs of moisture damage, especially in areas that experience high humidity (like bathrooms or kitchens).
  • Ventilation: Ensure proper ventilation in the installed area to reduce moisture buildup that could damage the boards.

Conclusion

The process of installing moisture-resistant boards involves careful preparation of the surface, selecting the right material, cutting the board, and using appropriate installation techniques. Sealing joints and applying additional protective layers ensure that the installation will withstand moisture exposure over time.

Shopping Cart